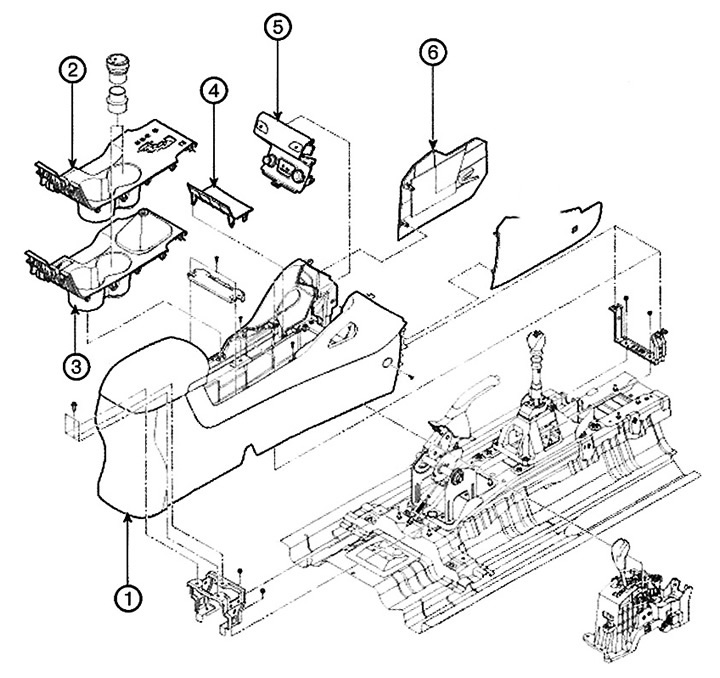
1. Floor console
2. Console top cover (Automatic transmission)
3. Console top cover (Manual Transmission)
4. Floor console shelf
5. Front panel of the floor console
6. Extension side cover
Replacement
Note:
- To avoid damage to the cladding when using a flat-bladed screwdriver as a lever, wrap the screwdriver with electrical tape. Tape also adjacent parts that require protection.
- Wear gloves to protect your hands from injury.
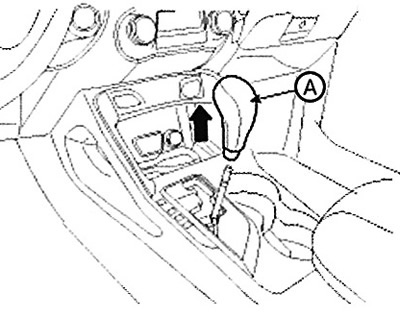
1. Remove the handle (A).
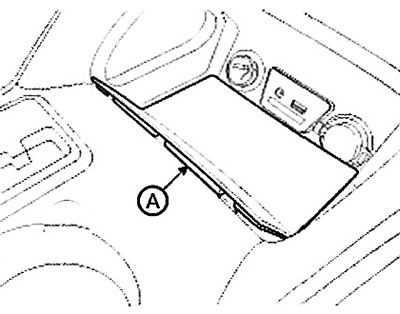
2. Remove the shelf (A) floor console with a screwdriver.
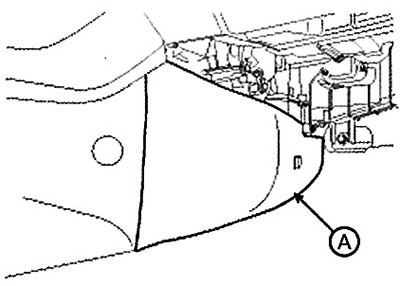
3. Remove the front panel (A) floor console with a screwdriver.
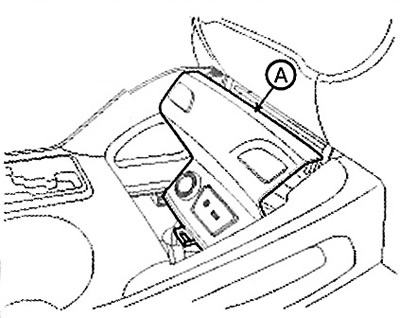
4. Disconnect connectors (IN).
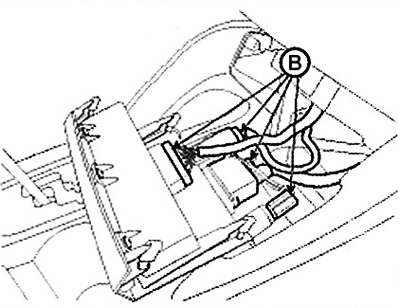
5. Remove the top cover (A) con salt with a screwdriver.
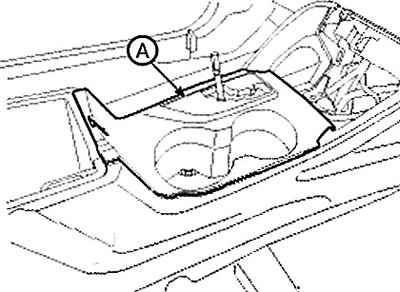
6. Disconnect the connector (IN).
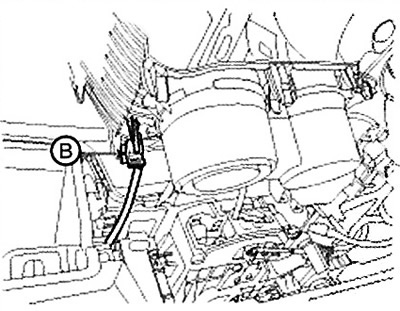
7. Remove soft panel (A) console.
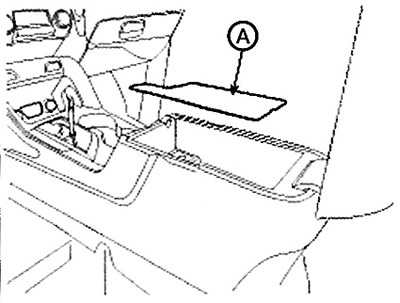
8. Remove the extension side cover (A).
9. Remove the mounting screws and bolts, then remove the floor console (A) assembled.
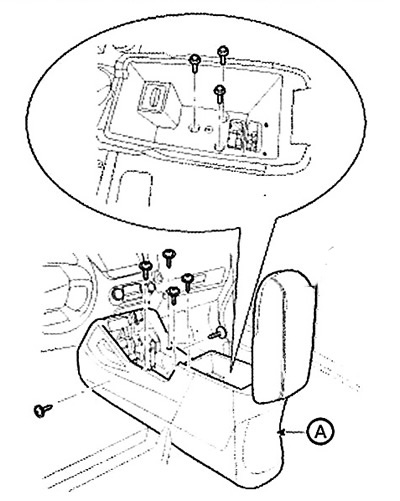
10. Installation is carried out in the reverse order.
Note: Make sure the connectors are connected correctly. Replace any damaged fasteners.
