Check the cylinder block bores for damage, wear or scratches.
Measure the diameter of each cylinder bore just below the roller in the center and bottom.
Attention: On the underside of the block opposite the cylinders, as a rule, there are marks corresponding to the size group of the cylinder.
Next, measure the diameter of each cylinder at the same points, but perpendicular to the axis of the crankshaft. Compare with technical data.
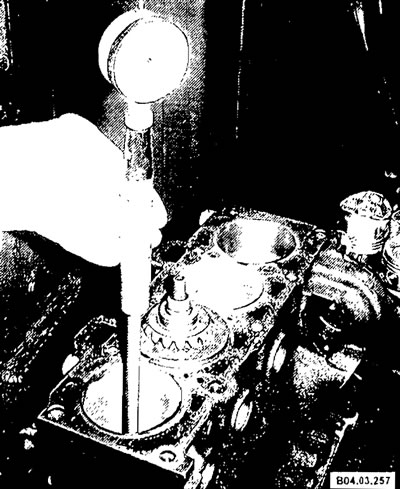
Typical Cylinder Diameter Check
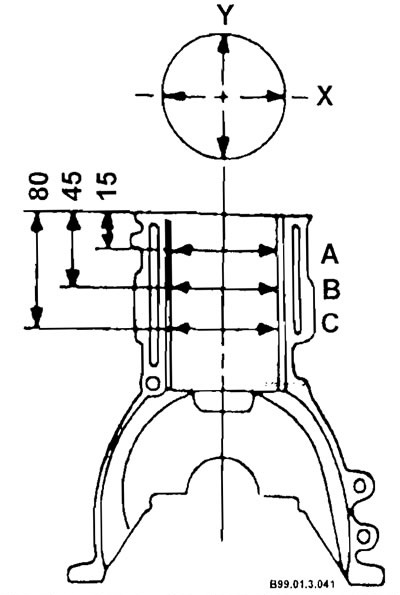
Cylinder diameter measuring points
If there are no accurate measuring tools, the gap between the piston and the cylinder wall can be measured with a feeler gauge.
The probe must be inserted between the wall and one of the bearing surfaces of the piston (at an angle of 90°to the piston ring bore).
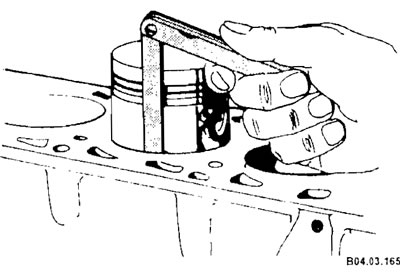
The piston must slide along the cylinder (with probe inserted) at moderate pressure.
If, with a feeler gauge equal to the gap limit, the piston fails or slides very easily, the gap is too large and a new piston is required. If the piston is stuck at the bottom of the cylinder but moves freely at the top, the cylinder has a taper. If, when the probe moves around the circumference, the probe gets stuck in some places, then the cylinder has an ovality.
Repeat this operation for the remaining pistons and cylinders.
If the cylinder walls are badly worn or scratched, the amount of taper or ovality exceeds the allowable value, it is necessary to bore and honing the block cylinders in the workshop. After ovality boring, it is necessary to use pistons and repair rings (more) size. If the cylinders are in a satisfactory condition, then it is enough to honing them.
Cylinder honing
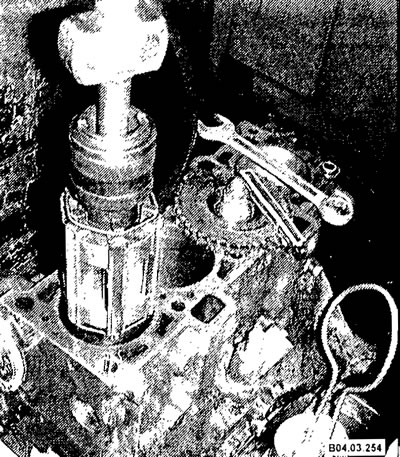
Typical cylinder honing
Honing is the final adjustment of engine cylinders to oversized pistons. This operation is usually performed after preliminary (draft) cylinder bores. Honing produces better working surfaces of engine cylinders.
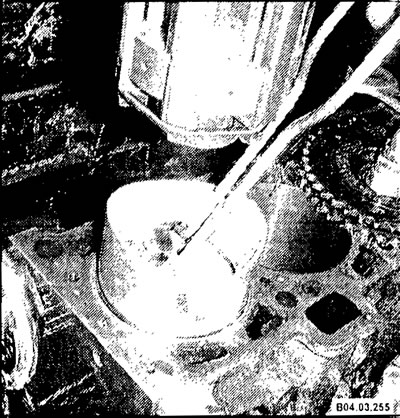
The cylinder is considered finished if the corresponding piston under its own weight descends into the engine cylinder without jamming and jamming.
